When you are an entrepreneur promoting your own business, or a gamer who like to setup his own video channels to promote his caliber, there always comes a moment, when you will feel "I wish I could record this portion!" Although today most of the modern computers are manufactured with Microphones, and other in-built tools to record, but if you are not aware of where to look for them, the pre-installed features are completely useless.
The tutorial here will offer you three ways to record computer screen on Windows 10.
- Part 1. How to Record Windows 10 Screen with Powerpoint
- Part 2. Record Windows 10 Computer Screen with Audio - ScreenGeeker Free
- Part 3. How to Record Computer Screen Windows 10 with Xbox
Part 1. How to Record Windows 10 Screen with Powerpoint
Of course you didn't know about this feature, but that's true. The latest version of PowerPoint can actually do that. But very users are aware of this secret protocol. Powerpoint allows you to record screen with or without audio of a presentation if you can simply use the "Screen Recording" Command feature. This could be really helpful if you wish to add a demo of a specific program required in the presentation. However, in order to record any Audio input, first you will have to plug in a working microphone as well as speaker in your computer. The speaker will simply allow you to hear everything you said and microphone will allow you to speak that you want to record.
Here are the steps to evaluate it:
Step 1. Step 1. Open up your PowerPoint program, and go to the "Insert" tab, and choose "Screen Recording".
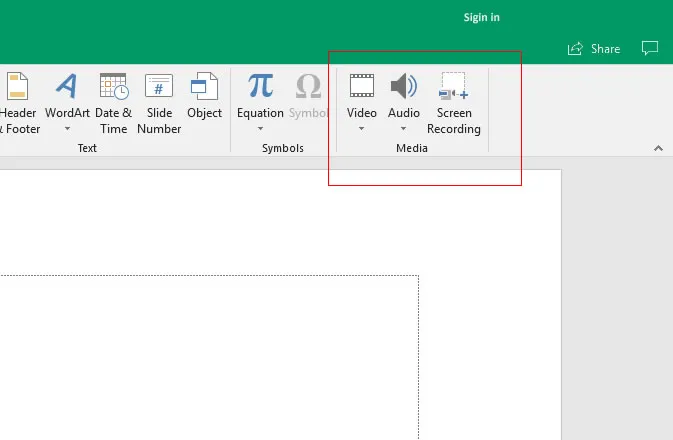
Step 2. Choose "Select Area" to select the specific portion of your screen you wish to record. In case you want to record the entire screen, press "Windows key + Shift key +F" keys together.
Step 3. Finally after you have done this much, click on "Record" button or you can use the "Windows key + Shift + R" key combination to trigger the recording.
Step 4. After the recording is completed, you can either embed the file or save it separately you see fit.
NOTE: You need to know this PPT recording options are very limited, but it's a very quicker and easier approach in dire emergencies and the recorded video is not clear in quality.
Part 2. Record Windows 10 Computer Screen with Audio - ScreenGeeker Free
TunesBro ScreenGeeker is an exception using which you can literally record video from anywhere on your Windows Screen, whether a live streaming video, any particular activity, screenshot, or webcam, etc. it's a easy-to-use screen recorder tool capable of capturing a specific area or the full screen, and create high-resolution video as well as take screenshots for the selected area. To your surprise, ScreenGeeker is entirely free and allows unlimited recording times without watermarks. And it gives a lot of nice features to help you make a wonderful video. Like you can add logo, subtitles, mouse color and more. You can set the Frame Rate, Video quality, and hotkeys as you want. The program will save video as a HD video format - H.264 and JPG/PNG/JIF snapshot format.
Step 1Download and Install the ScreenGeeker on Computer
First of all, you need to download the tool and run it with admin authorities on your Windows computer. In order to use this free Screen Recorder, you must ensure that your computer internet is connected.
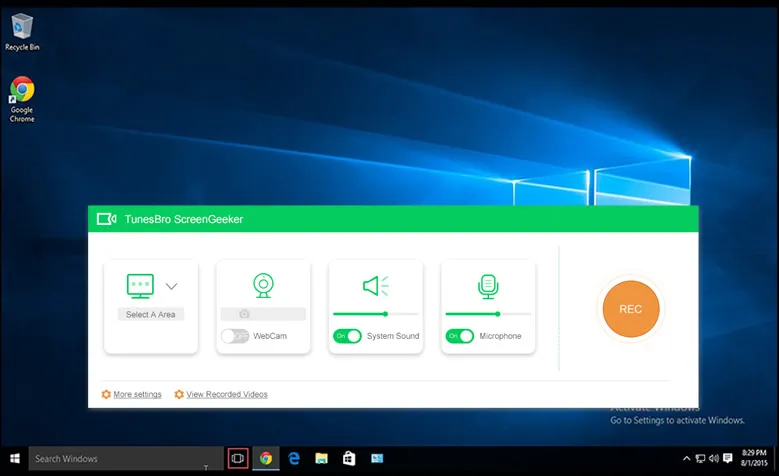
Step 2Set the Capture Parameters for Your Video
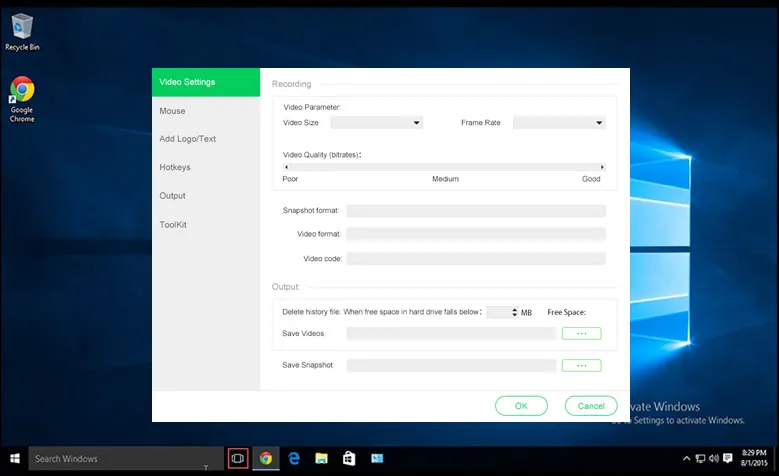
Before starting to record Windows 10 desktop screen, we highly recommend you to set your video parameters. Just click the More Settings button to open the setting Window. You will see there are many parameter options for your choice. Like Mouse color, Cursor Effects, keyboard actions, hotkeys, Add logo or text to video, video format, snapshot format and more.
Step 3 Let's Try to Record Windows 10/8/7 Screen with Audio
Example 1: Record Computer screen:
After the parameters are finished, as soon as the main screen appears, click on "Select A Area" and choose "Select a recording area" from the drop down menu, you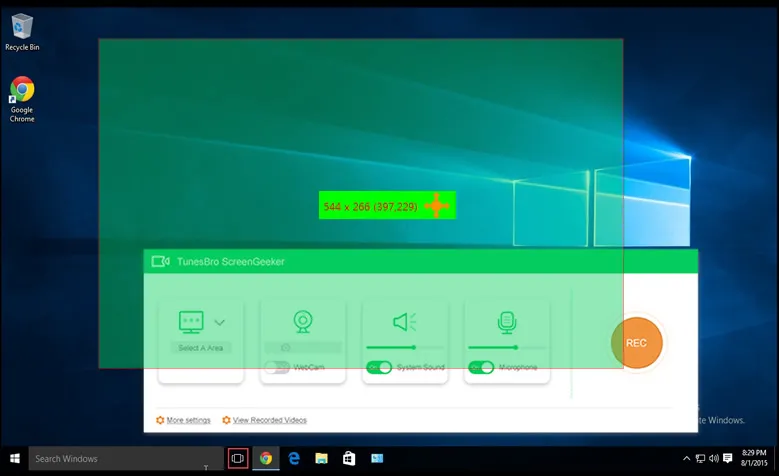 can choose to drag over an area or full screen. You can open or close the system sound or Microphone. Then click "REC" button to start to record your computer screen on Windows.
.Now you will see there is a sidebar appears in the bottom of the recording area and providing options: start, resume, stop, continue and snapshot.

Example 2: Record screen for Online Video Site.
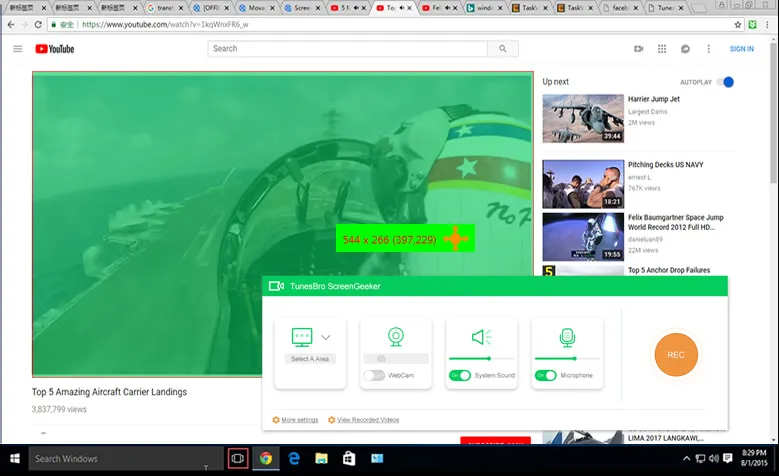
As we told you that this program can be able to record videos from online video with HD format. That's also very easy to operate, just open the online video page and play the video.Then run the ScreenGeeker and drag over a recording area for the video you playing.
4Save the Video and Play It.
When you want to save the recorded video, just click the Stop button on the toolbar. You will be asked to click OK to save the video, and the tool will generate the video format to save it to your computer. It will pop up a Windows that display all the recorded video list and images you capture. You can click it and play it.
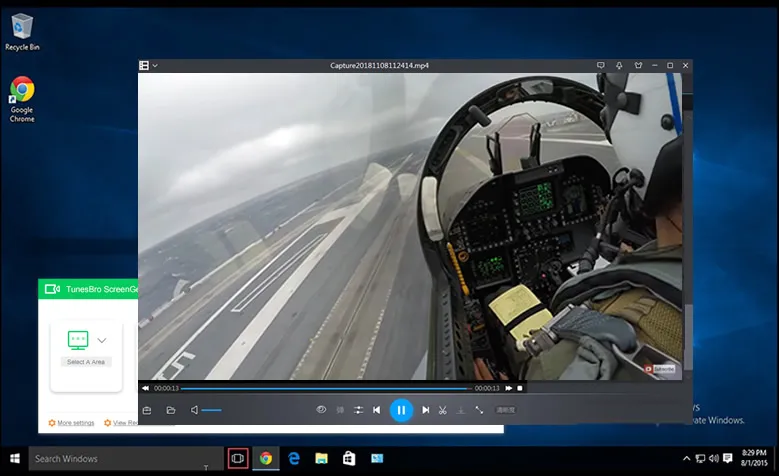
As you can the recorded video still remain the original video's quality. ScreenGeeker is fully capable enough to offer you the exact requisites for Screen recording. Most of all, it's Free! Keep the tool installed on your desktop for immediate usage, and in case of doubts, call the customer support team to clear away your queries.
Part 3. How to Record Computer Screen Windows 10 with Xbox
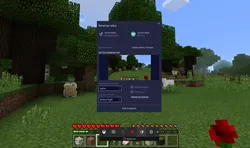
It may interest you to know that Windows 10 actually has its own in-built screen recording app. It is especially intended to record video games and gameplays.
Step 1. In order to use this features, simply open the pre-installed Xbox app or you can go to search and type "Xbox" to find it then press Windows + G buttons together then select "Yes, this is a game".

Step 2. Click on the "Start Recording" button or you can again press Windows + Alt + R buttons to start.

Step 3. In order to stop the recording use the same button combinations. The default location to save the files is "Videos/Capture" folder in the primary drive.
If you want to customize the recording settings then go to the Xbox app followed by clicking on Game DVR option. However, you may not able to choose any destination folder other than the default one for recording. But you may customize the quality and other settings for the app. You can choose whether you wish to record the audio or not and what would be the maximum length of the clip.
Sadly, this app cannot record all kind of games in your computer. But if you wish to record your gaming play then you may need to install the video card of the following specifications – Intel Quick Sync H.260, Nvidia NVENC, AMD VCE
Related Articles & Tips


