TunesBroCleanGeeker
How to Use TunesBro CleanGeeker
TunesBro CleanGeeker is your one-stop-shop for Mac maintenance, but it's a whole lot more than that. Aside from being able to rid your computer of junk, duplicates, large files and other data that can clog up your device memory, it contains several useful utilities that will keep your Mac running like new even if it's a few years old.
This user guide takes you through the many functionalities of CleanGeeker, showing you exactly how this robust software can take care of your Mac computer for years to come.
- Part 1: Why Choosing TunesBro CleanGeeker?
- Part 2: Download and Install
- Part 3: How to Use TunesBro CleanGeeker
- Part 4: Product FAQs
Part 1: Why Choosing TunesBro CleanGeeker?
1) Powerful data cleaning features and easy to use.
2) Find tons of junk and cache files on Mac.
3) Easily find and remove duplicate files on Mac computer, such as photos, music or downloads.
4) Permanently delete a file from Mac with zero possibility to recover it.
5) Extract content from archive files, including ZIP, RAR, 7Z, GZ, TAR and more.
6) Disable auto-start apps after login.
7) Uninstall third-party and malware apps.
Part 2: Download and Install
Click the following button to download a copy of CleanGeeker app on your Mac. Currently, it is fully compatible with macOS Sonoma and Apple Silicon Mac, including M1, M2 and M3. Don't forget dragging the app icon to Applications folder so you can open the app from Launchpad.
Part 3: How to Use TunesBro CleanGeeker
CleanGeeker is a powered toolkit designed for making your Mac running smoothly. It includes a set of useful features to clean your Mac, uninstall apps, find duplicates files and more. Please read the details for each feature listed in below.
Feature Introduction 1: Junk and Cache Clean
Junk files are notorious for building up over a period of time, but with CleanGeeker's Junk Clean function, you won't have to worry about that anymore. On the main Junk Clean page you'll see an option to do a Quick Scan of all your drives.
This could take a few minutes, but the software will weed out a lot of files that aren't required but still use up disk space. If you have a Mac that's about 2 to 3 years old you might have tens of GBs worth of junk files that have collected over the years without your knowledge. This includes system cache files, junk from apps, and even default files such as language files that you probably won't be using.
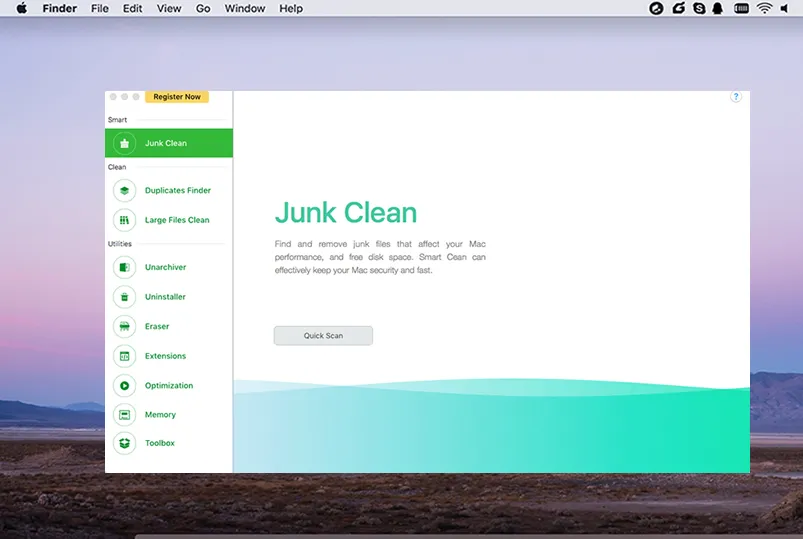
Step 1: Launch the application. The Junk Clean tab is located on the left side of the program. Click on "Quick Scan" and wait a few minutes.
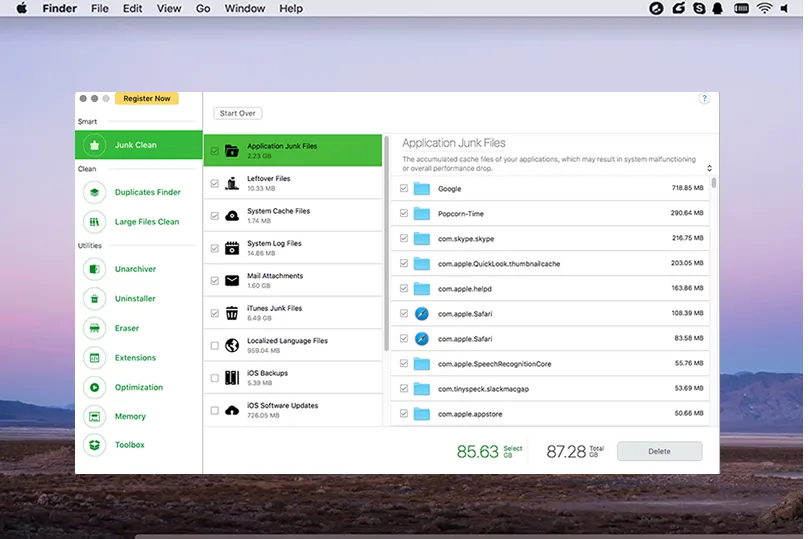
Step 2 : When the scan is done, you will see multiple categories of junk organized in a neat manner, and you will be able to see individual files on the right side.
Step 3 : Review whatever you want to remove, and then click on "Delete" button and confirm when the popup appears.
Feature Introduction 2: Duplicates Finder
This is another category of files that can take up space unnecessarily. The problem is, duplicate files are very hard to find manually because you'll have to go folder by folder to spot them. CleanGeeker makes it a breeze, letting you preview and then delete duplicates with just a couple of clicks. You can also view your duplicate files by file type, an added convenience.
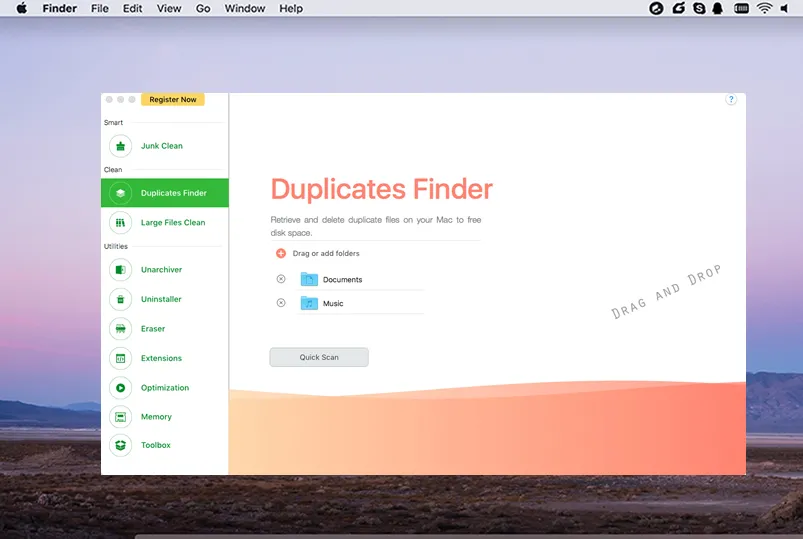
Step 1: Click on the tab that says Duplicates Finder.
Step 2 : You can either do a quick scan for duplicates, or drag and drop folders that you know to be duplicates.
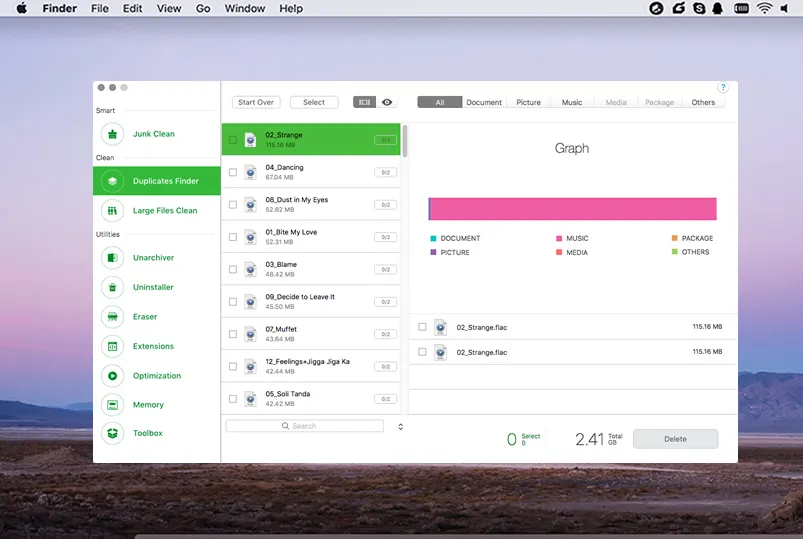
Step 3 : Review the results (if you scanned) and click on "Delete", then confirm the deletion.
Feature Introduction 3: Large Files Clean
Yet another group of files that hog disk space is large files. You may want to retain some of them, but CleanGeeker will help you visualize them and see if they're really required. If not, you can simply remove them to free up more space on your Mac's drives.
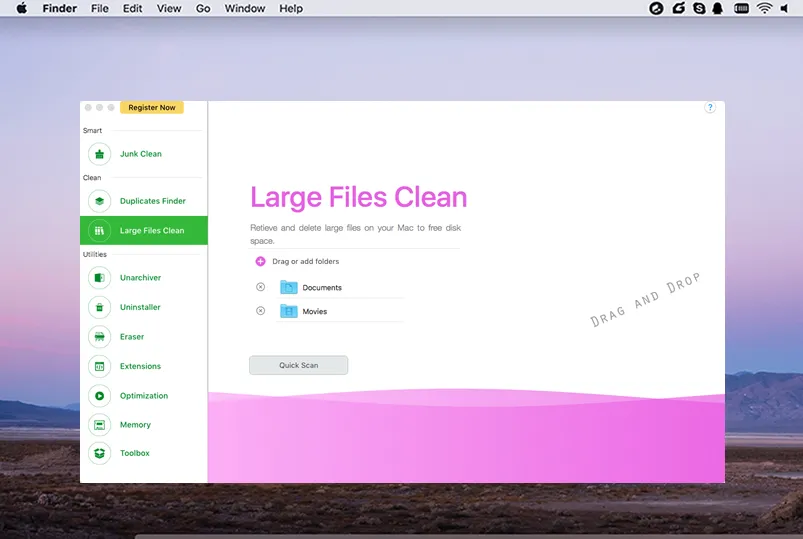
Step 1: Click on the Large Files Clean tab on the left.
Step 2 : Do a quick scan or drag and drop large files into the window from Finder.
Step 3 : Check the files and only select the ones to be removed. Click on "Delete" and then confirm the action.
Feature Introduction 4: Unarchiver
This is the equivalent of WinZip for Windows, and is a robust archive file handler. It can unpack or extract various archive formats including Zip, RAR, 7-Zip, GZip and more. It can also open winmail.dat files that are sent by Outlook and Exchange so you can read rich text emails even if your email client can't handle them.
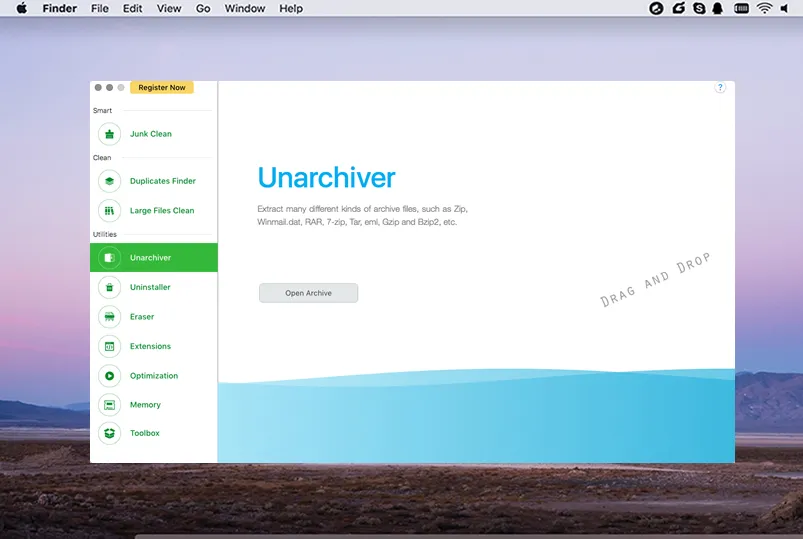
Step 1: To use this utility, simply click on the Unarchiver tab on the left, then either navigate and open the file using the Open Archive button or just drag and drop the file into the software window.
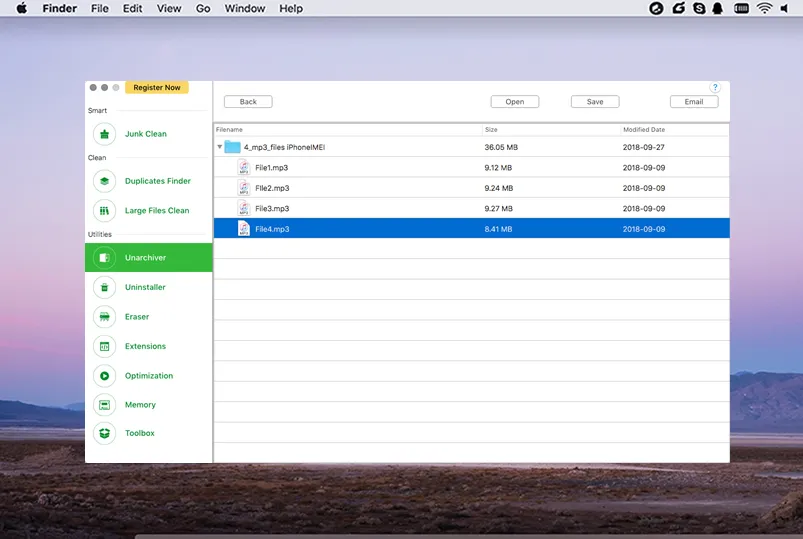
Step 2 : Once the contents of the archive file have been extracted, you will have the option of either opening the files or saving them to a new location. You can also choose to email specific content with the convenient button provided for the purpose.
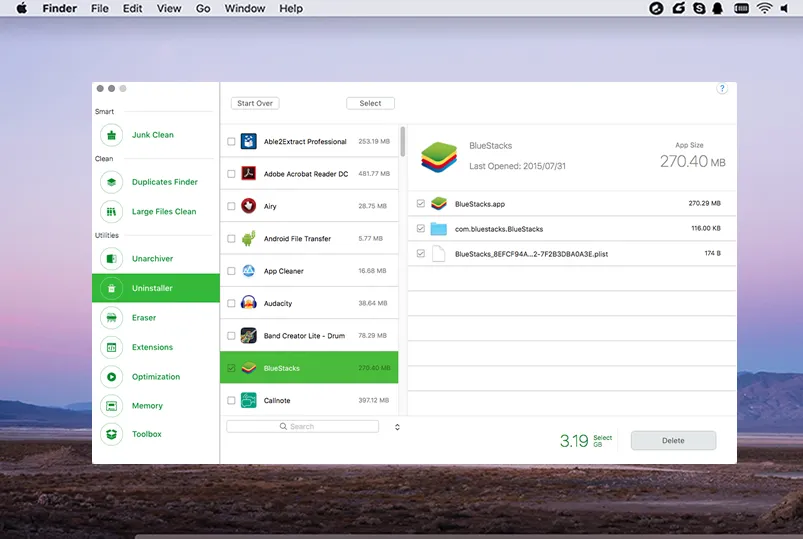
Feature Introduction 5: App Uninstaller
Some apps are notoriously hard to uninstall, and even when you get rid of them they leave a lot of residual files that clog up your drives. The Uninstaller utility in CleanGeeker helps you cleanly remove apps that you don't use anymore.
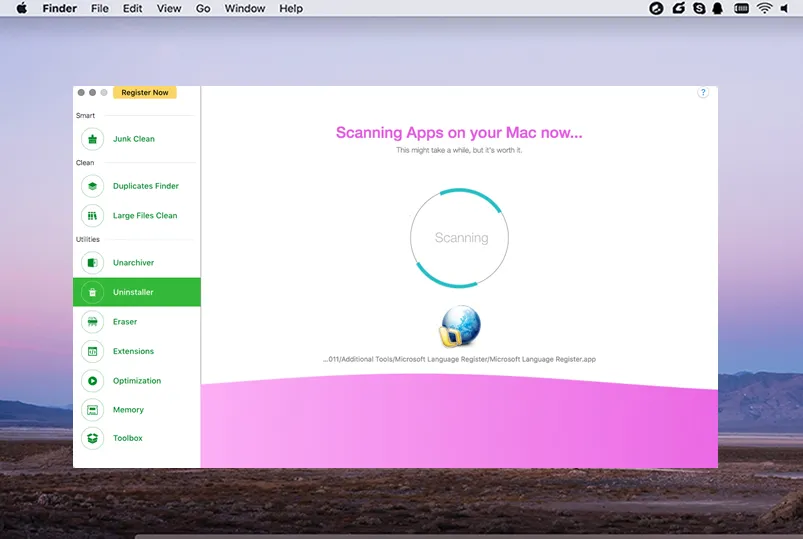
Step 1: Click on the Uninstaller utility on the left panel.
Step 2 : Scan your PC for all apps.
Step 3 : Select apps that you no longer use or have never used. Click on "Delete", then confirm the deletion by entering your login password.
Feature Introduction 6: File Eraser
Digital privacy is becoming more relevant every day. Don't let unauthorized people get access to your personal files after you've deleted them. With the Eraser utility, you can digitally shred your documents and files so they are unrecoverable even with the best data recovery software. To permanently delete files, from your computer, follow the process as described below:
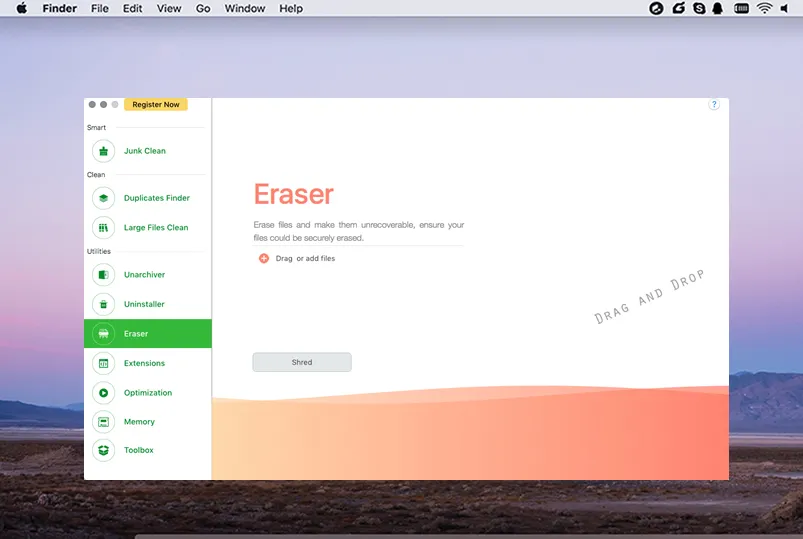
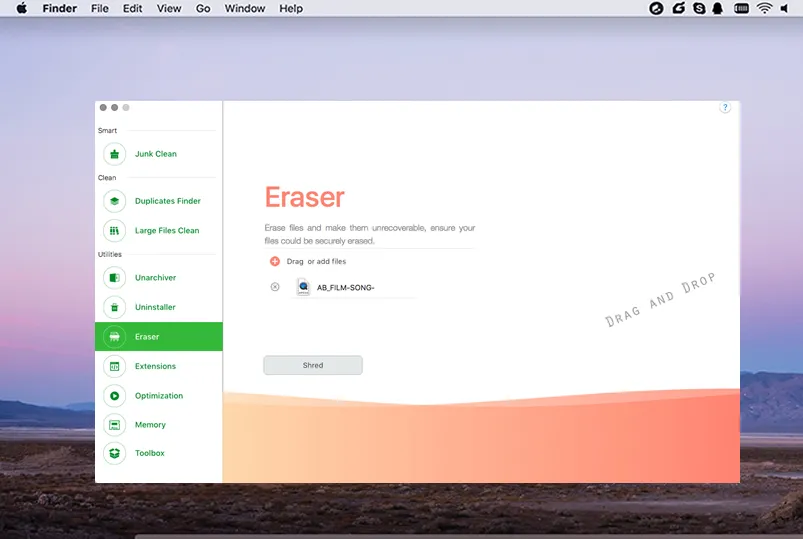
Step 1: Click on the Eraser tab on the left panel.
Step 2 : Drag and drop files, or select them using the + symbol.
Step 3 : Click on "Shred" and then confirm deletion of selected files.
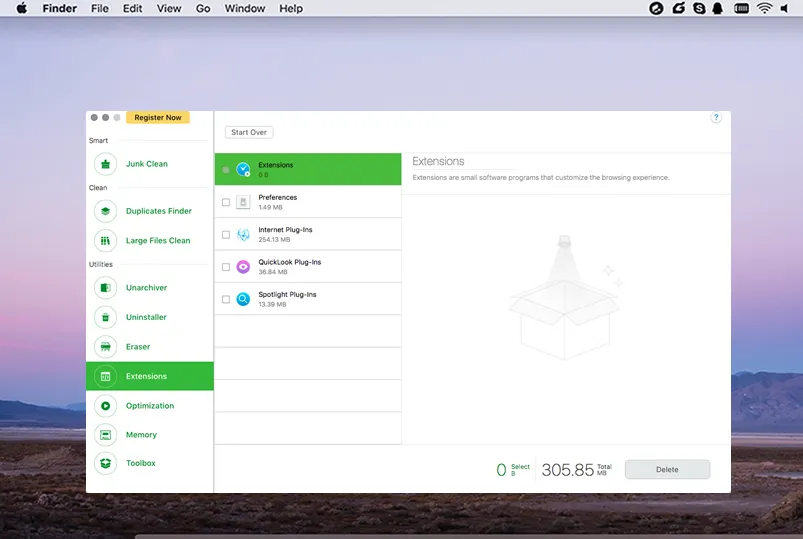
Feature Introduction 7: Clean Extensions
CleanGeeker helps you manage your plugins and extensions from one convenient location. No more hunting for extensions that aren't useful. Let the software find everything for you, and you only decide what to keep and what to remove.

Step 1: Click on the Extensions tab on the left
Step 2 : Do a scan to find all plugins and extensions installed on your computer.
Step 3 : Select the ones to be removed and hit "Delete", then confirm.
Feature Introduction 8: Startup Optimization
Startup optimization is crucial if you want your system to boot up without any additional software loading up each time. This can considerably slow down your boot time.
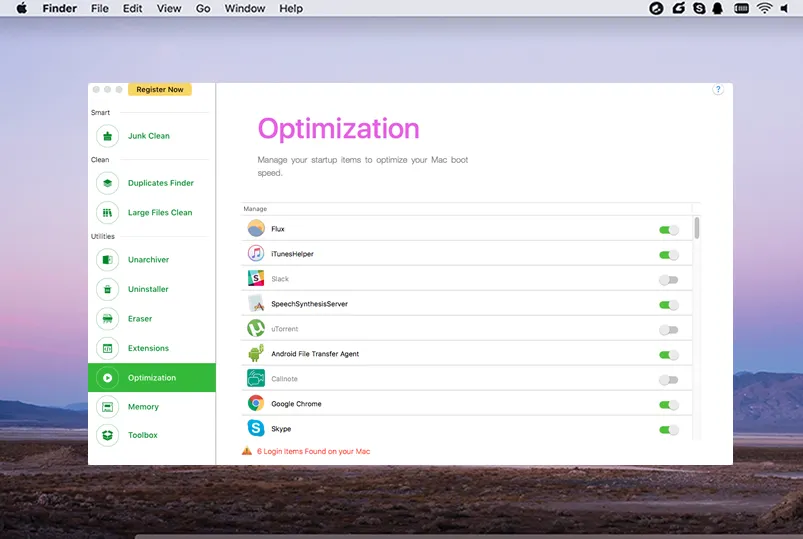
Step 1: Select the Optimization tab on the menu panel.
Step 2 : Scan your Mac for apps that launch when starting up your computer.
Step 3 : Enable and disable by clicking the button at the right side of each option.
Feature Introduction 9: Free up Memory (Deep Clean)
This is another very useful resource optimization utility that can deep-clean your Mac with just one click. You can visually see how your disk space or RAM is being used. Clicking the Deep Clean button instantly optimizes your memory resources and speeds up your computer. An absolute essential if you want to keep your computer running like new.
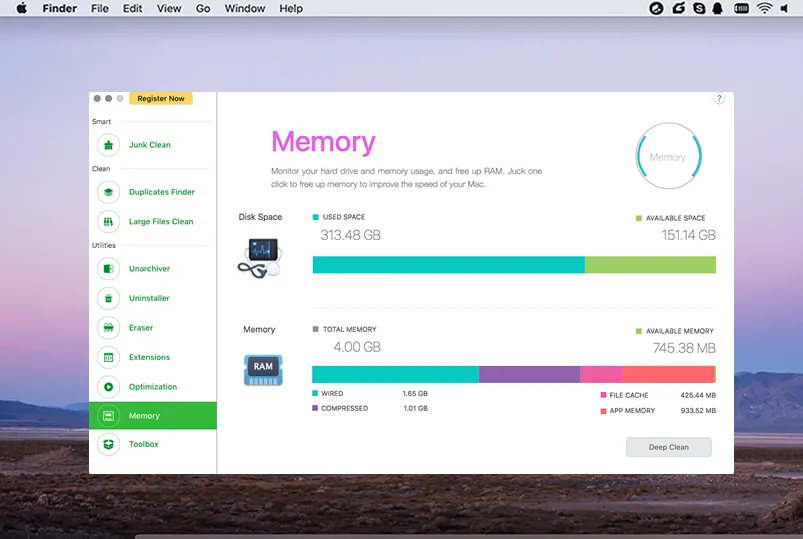
To do a deep clean, simply click on the Memory tab on the left, then click on Deep Clean. That's it! The software will show you how much memory was cleaned, and the new results will show you the available disk and RAM resources.
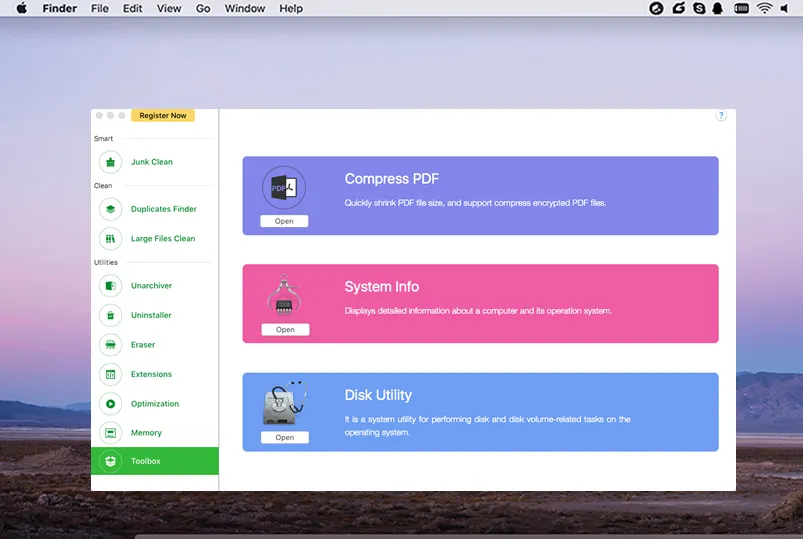
Feature Introduction 10: Toolbox
This extra utility contains some very useful functions, such as being able to view System Information. It also contains a shortcut to the native Disk Utility program so you don't have to search for it when you need it in a hurry. The last module is a PDF compression tool that can help optimize PDF file sizes if you want to send them via email or upload them to the cloud. If you have a slow internet connection, this is an ideal utility for you. It also supports compression of encrypted PDFs.
Part 4: Product FAQs
1) Not Receiving Activation Code
Usually, the activation should be arrived in your email box in less than 5 minutes after purchase. Please first check the spam folder and contact our support team if the code doesn't appear as expected.
2) Can I Use CleanGeeker on Apple Silicon Mac?
Yes. CleanGeeker is working perfectly on M1, M2 and M3 Mac.
3) Is CleanGeeker fully compatible with the latest macOS?
Yes. Our dev team updates this app frequently in order to make it running smoothly on the latest macOS, including Sonoma, Ventura, Monterey, Big Sur and many more.
TunesBro CleanGeeker is a must-have software for all Mac users. It can speed up your computer and make it run like new, and there's no need for any additional software to keep your resources optimized. The software is supported by a highly trained team of technical support staff that can help you with any queries, and the learning curve for the product is an easy slope rather than a steep uphill climb. What's more, you get the guarantee that comes with all TunesBro products.