
Since the release of Samsung Galaxy S4, camera capability has become one of the best selling points for Samsung smartphones. We can take high quality photos with Samsung phone at any time and anywhere. But unfortunately, there are times that we deleted photos from our phone by mistake or format micro SD card by accident. Whatever your case may be, there is actually nothing to worry about. You still can manage to recover all the deleted photos from backup files or by using third party software.
I will list all the possible solutions to help you get back your lost photos and you can choose the right one according to your own situation.
Supported Samsung Device: Galaxy S4/S5/S6/S6 Edge/S7/S8, Galaxy Note 8/7/5/4/3, Galaxy Tab 7/10 and many others.
- Part 1: How to Recover Deleted Photos from Backup
- Part 2: How to Recover Deleted Photos with Samsung Data Recovery Software
- Part 3: Ask Technical Expert to Recover Deleted Photos on Galaxy Phone
Part 1: Recover Deleted Photos from Samung Galaxy Phone via Backup
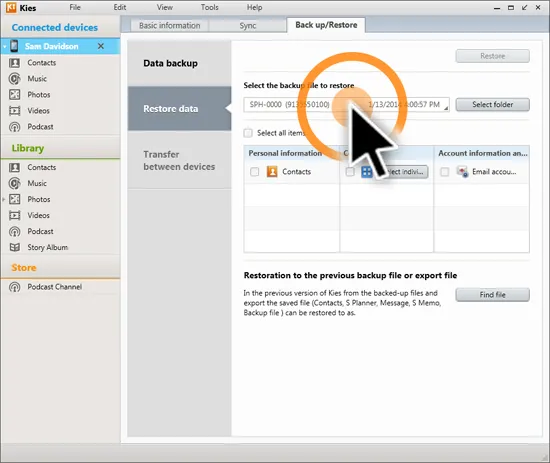
Restore Photos from Kies Backup: Samsung Kies is the official phone manager software developed by Samsung. One of its core functions is to backup the data on any Samsung phone or tablet. If you already backed up the device, then you can easily retrieve the photos from Kies backup.
Now connect your phone to computer and launch Kies. Click Backup and Restore tab on the top of the menu. Then click Restore data and select the location of backup file. The photos will be stored to your phone in a few minutes.
Restore Photos from Cloud Backup: There are many cloud storage services you can choose from to backup photos, such as Dropbox, Google Drive, OneDrive or the default Samsung backup service. Go to Settings -> Cloud -> Device backup and tap Restore. Once the backup file being loaded, tap the Restore Now to recover the lost photos.

Part 2: Recover Deleted Photos from Samsung Galaxy Phone via Data Recovery Software
If you forgot to backup your photos, then there is another choice to recover the photos. That is using data recovery software. TunesBro DiskLab for Android is one of them. It is one of the greatest Android data recovery tools available in the market. Besides photo recovery, It can also recover contacts, sms, videos, audios, documents from various Android devices, including Samsung, HTC, Sony, LG and many other Android brands. What is the best part of this program is that you can preview each deleted photos before finally recovering them. This will save more time and storage for the phone.
Step 1Install and Run TunesBro DiskLab for Android
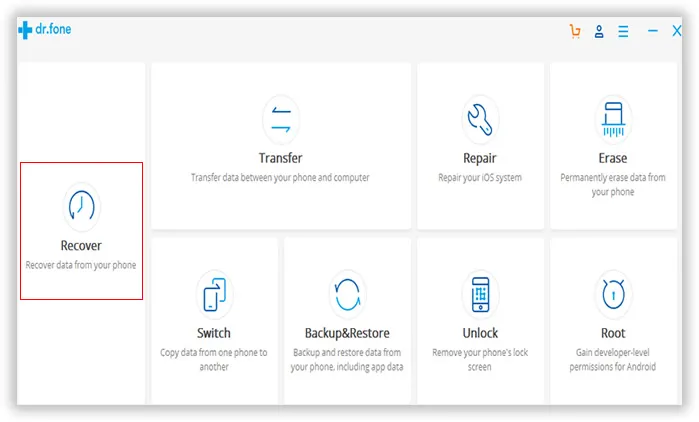
DiskLab for Android is a powerful data recovery software that works on computers. So you need to download and install the program first. You can directly follow the built-in installation wizard. After this, open the program and the program is shown like this:
Step 2Enable USB Debugging on Samsung Galaxy Phone
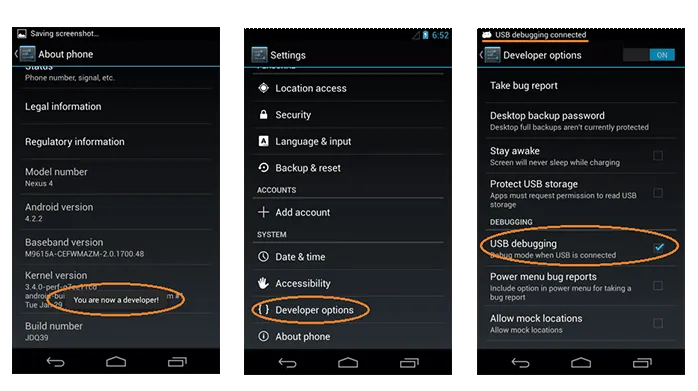
USB debugging is an useful feature on Android to let the device freely communicate with computer. You have to enable this function before using TunesBro DiskLab for Android. Please read the following tips to turn it on:
For Android 2.0 – 2.3: Settings -> Applications -> Development -> USB debugging.
For Android 3.0 – 4.1: Settings -> Developer options -> USB debugging.
For Android 4.2 and higher: Settings -> About phone, tap Build number seven times to unlock Developer options. Now go to Settings and find Developer options, turn on USB debugging on there.
Please note: To maxim the possibility of data recovery, it is highly recommended to root your phone. This will make the program fully scan all the files on the phone. Without root permission, only part of the files will be detected.
Step 3Connect Samsung Galaxy Phone to Computer
Take out of the USB cable and connect your Samsung phone to computer with it. Usually, it only takes a few seconds after the phone was attached to computer. If the computer doesn't recognize your phone, then check the reasons from this post.
Step 4Scan Deleted Photos on Samsung Galaxy Phone
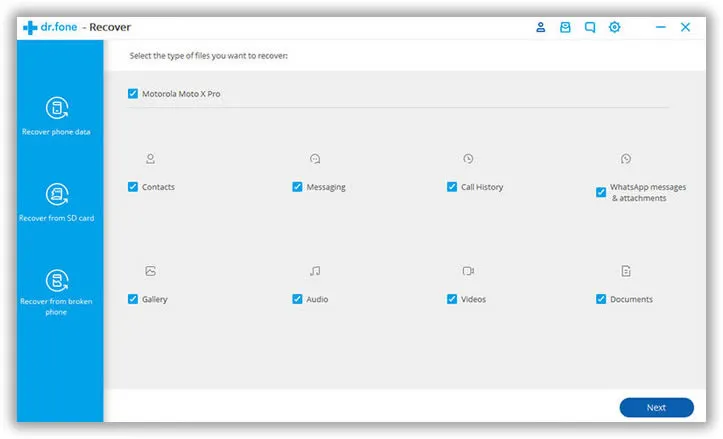
Click 'Next' button to start the file scanning process. DiskLab for Android will try its best to locate all deleted files on the phone. Please keep in mind, this process will take a couple of minutes depending on how many files on the phone. So just be waited and don't disconnect the phone during this step.
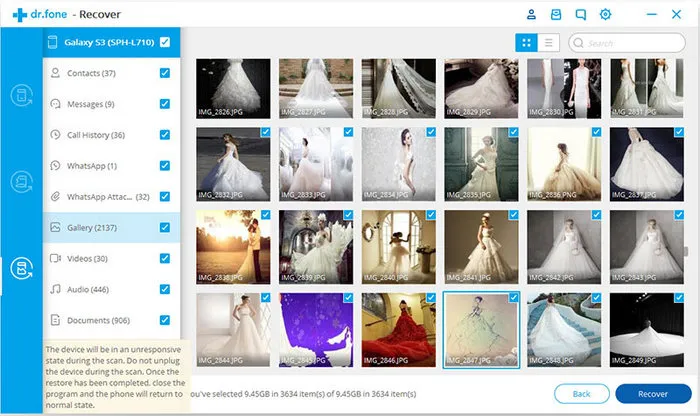
Step 5 Preview and Recover Deleted Photos on Samsung Galaxy Phone
Once the scanning process is done, the software will show all the scanned data in different categories. You can easily find the scanned photos available in the folder called 'Gallery'. Select the photos that you want to recover to the phone. Finally, click the button 'Recover' and you will have all the selected photos saved to your computer.
Now you can understand how easily the entire photo recovery process is. TunesBro DiskLab for Android is a program that very safe to use. It never leaks any of your personal information. And It comes with very easy-to-follow instructions that anyone can use this software without experiencing any sort of difficulties. At the end, I suggest everyone who owns a smartphone making backups regularly because this is the most secure way to protect your data. Plus, it takes much less time to restore from backups.
Part 3: Ask Technical Expert to Recover Deleted Photos on Galaxy S7/S6/S5/S4/Note 5
Photos are stored on physical disk like SD card or flash memory, which is made of electronic circuit. If you knew someone who is in storage industry, then it is also possible to get back the deleted photos on Galaxy phone because they know much more under the ground than general technicians.
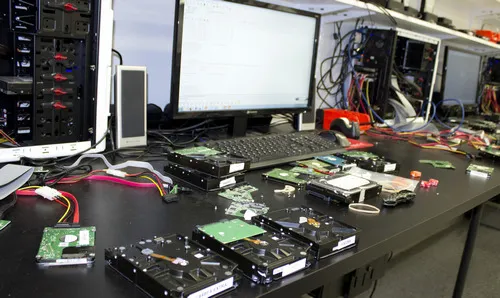
Alternatively, you can also take the phone to a local workshop to let the expert in there have a full check about the device. And see what they could help in such a case. They usually have more advanced tools for data recovery. However, the fee is not cheap at all. Please only pay for the money if they are confident to recover the photos. Or it will be a total waste of money.