If you want to access Android from a computer such as data backup, device mirroring for file transfer, then you must turn on USB debugging on Android first. Without it, you can't see the device shown up in Windows Explorer. USB debugging is an essential feature for Android developers or users who want to perform advanced tasks on their Android devices. It allows your device to communicate with a computer via USB to use tools like Android Studio, ADB (Android Debug Bridge), or transfer data between your device and PC.
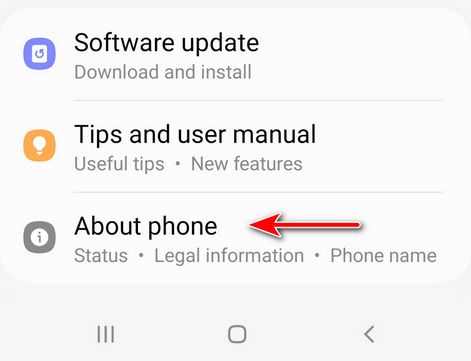
Step 1: Open the Settings app and scroll down to the bottom where you can find the About phone option.
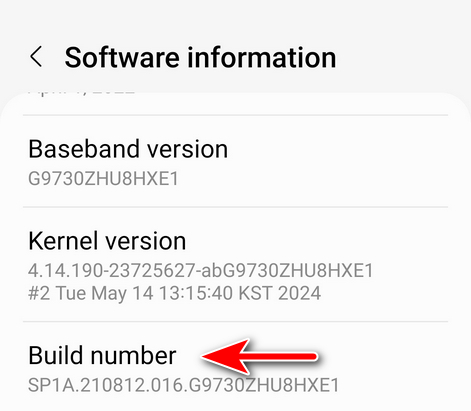
Step 2: Go to Software information and tap Build Number 7 times to unlock the Developer options on Android phone. It is hidden by default.
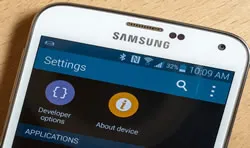
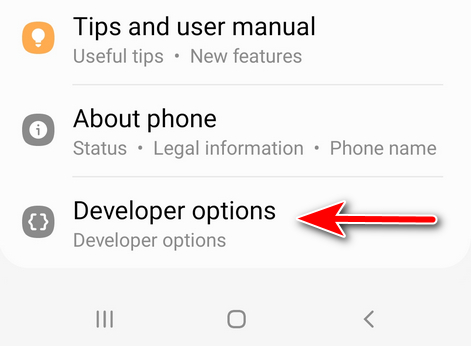
Step 3: Back to Settings app and you see see the Developer options located at the bottom of the screen.
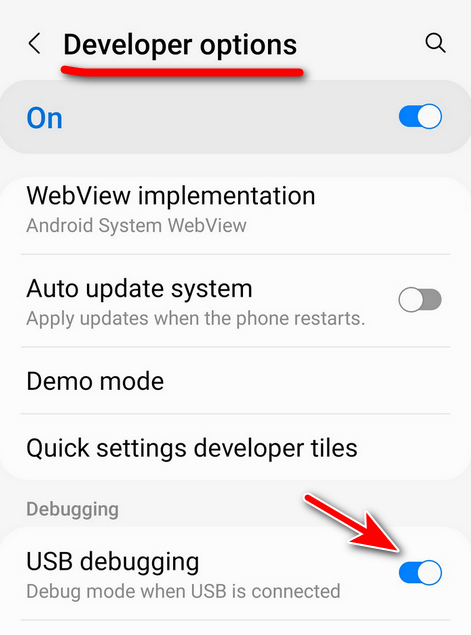
Step 4: Tap USB debugging checkbox to turn it on.
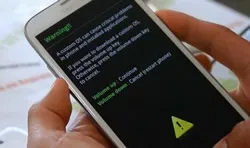
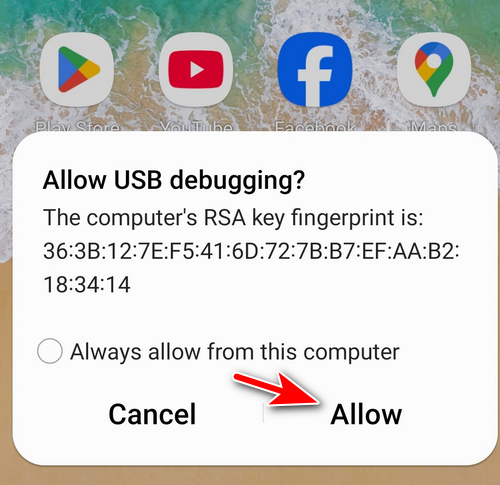
Step 5: Connect Android to computer via USB cable and you will receive the following notification. Kindly allow the permission to proceed.
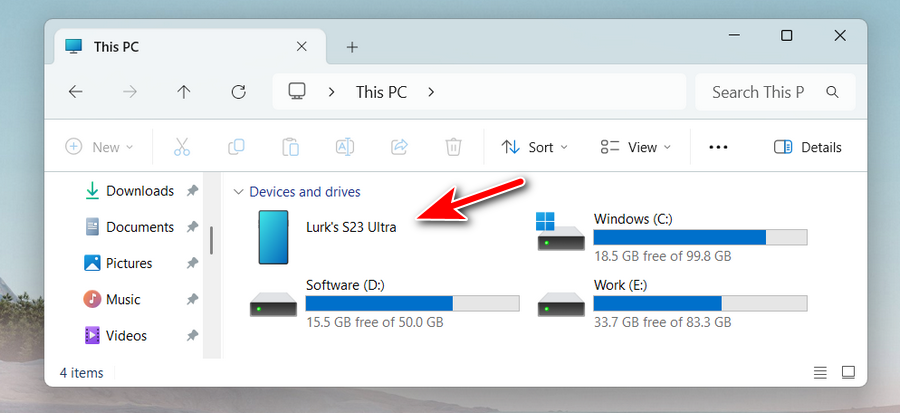
Step 6: Now, you can see the Android device is well connected to computer and the device name will show up in file explorer.
Enabling USB debugging on Android is straightforward but requires unlocking the developer options first. Once activated, it allows developers and power users to connect their Android device to a PC for various tasks such as data transfer, app testing, and troubleshooting. Always ensure you disable USB debugging when not needed for security reasons.