Did you delete a certain file from your Mac computer and found out it was still useful later? You would recover the deleted files from trash folder. What is to do if you already emptied the trashcan? Most users clean up their trashcan in order free up more space because Mac uses low volume SSDs on most of its laptops. This can be a pedantic and annoying moment if the file you have deleted is very important to you.
Trash can is the area in your computer which saves all the deleted files but in case if you have deleted the files from there too then truth to be told, it is impossible to restore your data without taking help from external software. In this guide, we will show you two ways to undelete your Mac files within minutes. So buckle up and let's get started with the procedure of each method.
- Part 1: How to Undelete Mac Files from Time Machine for Free
- Part 2: How to Undelete Mac files from OS X with TunesBro Recovery Software
Part 1: How to Undelete Mac Files from Time Machine for Free
Time Machine is an amazing in-build feature provided for every Mac user to back up their computer data. However, it does require some preparation like you need an external hard drive to back up your machine and use it as a backup driver. If you have already took this precaution then you have done the wisest thing in your life. Learn how to undelete Mac files using this little tool.
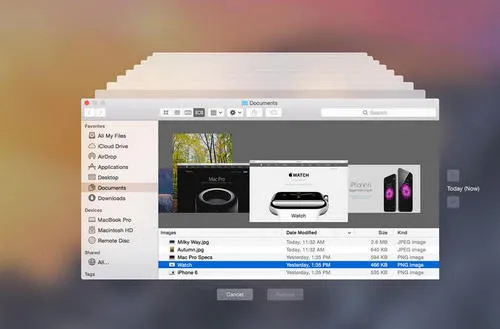
Step 1. Click on the Time Machine application from your Mac dock or you can simply open the program by entering into Time Machine Menu.
Step 2. Time Machine shows all the backup files according to their data and time, so search for the files in that specific time range.
Step 3. Choose a file and press the space bar to preview them.
Step 4. If that's the file you wish to recover and then click on "Restore" to restore the files back on to your computer.
One of the biggest issues with Time Machine is that it takes hours to backup a disk only with 128G SSD. Not to mention how much time it spends on large volume disk. It is also very complicated to use since it doesn't show exactly what you want to recover. In addition, all data are poorly organized and it is very difficult to search for the files you wish to restore.
Part 2: How to Undelete Mac files from OS X with TunesBro Recovery Software
Most people don't really keep a full backup of their entire Mac since new files are stored every day in everyone's system. But there is an easy way to recover all your deleted files even if you have no backup at all. That's right and there's where Tunesbro DiskGeeker for Mac comes into play to save your life. Tunesbro DiskGeeker is a powerful and professional data recovery tool that helps to recover deleted files from you Mac computers.
Not only that you can use the same software to recover deleted data from external hard drives, memory cards, SATA drivers and so on. Practically any file types can be restored using Tunesbro DiskGeeker for Mac including pictures, music, videos, documents, archive files and any other type of data formats. The program is extremely fast and can recover all your files within minutes back on to your computer.
Top Features of TunesBro Disk Geeker for Mac
- Recover files due to various reasons, like accidental deletion, format or system crash.
- Support 20+ files types, such as photos, document, video, music, ebooks, etc...
- Preview Deleted Files before Recovery.
- Can be used on Windows PC or Mac Computer.
Step 1Download and Installation
Download the program on your Mac and install it by reading and completing the setup process. Everything is pretty straight-forward. Launch the program to see the benefits of using the program. It will give you the option to restore selected file types from your Mac and narrow down the search results.
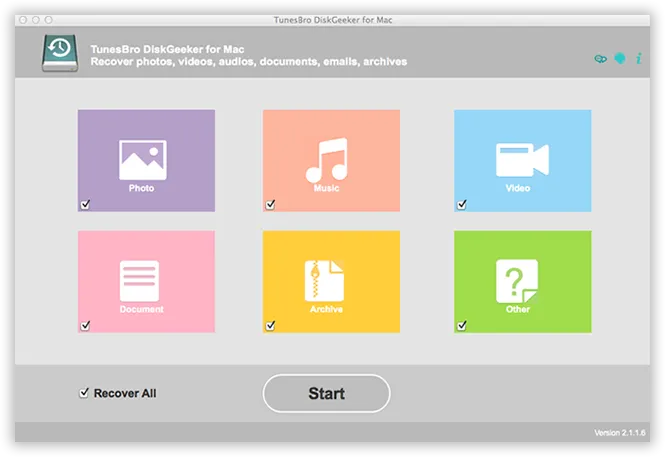
Step 2Choose The File Type You Wish to Recover
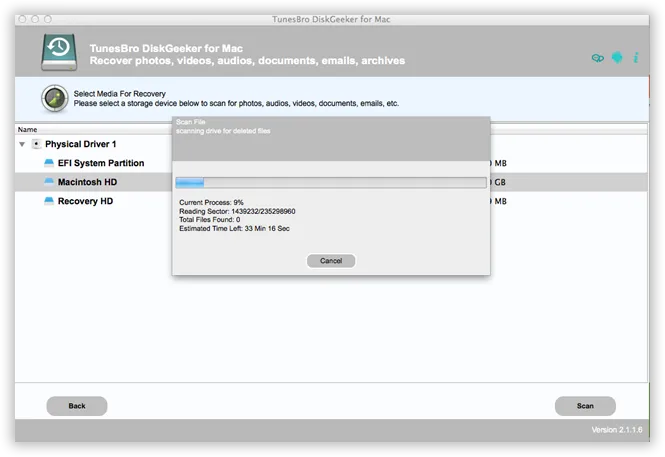
Choose "Recover All" if you have deleted a pile of files from your Mac or else you can choose selected types and finally click on "Start". On the next window, the program will let you choose a driver name from which you have deleted the files from. Once you have selected the driver name, click on "Scan" from the bottom right of the software.
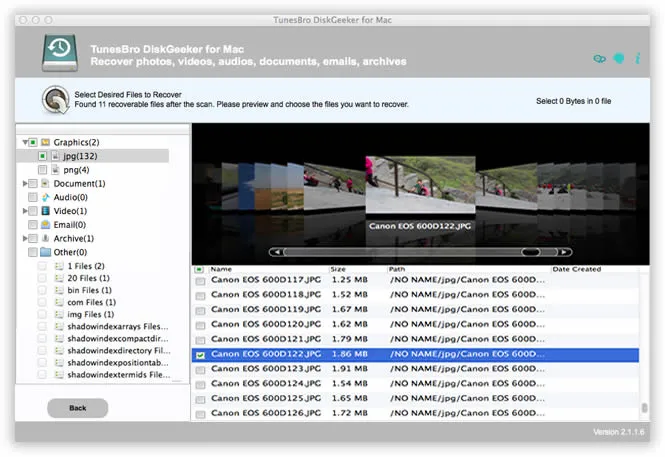
Step 3Preview and Undelete Selected Mac Files
The scanning process will take several minutes depending on how much data it is scanning. After the scanning process is finished, it is time to preview all the deleted files one by one and select the files that you wish to recover. Once you have selected the data that you desire to recover, simply click on "Recover" and save the files on the output folder of your choice.
Tip: If you using larger size hard drives then it is recommended to start scanning the hard drives and keep working on the background since it won't interrupt the software at all.
Summary: Data deletion happens to everyone on a regular basis. Thankfully, the methods shared in this tutorial will totally save you from having embarrassing moments. You don't need any backup file or online account to use Tunesbro DiskGeeker as it is a plug and play program. You can literally restore files that you have deleted two minutes ago using this tool. Head on to the official website to read all the awesome feature of this program and check everything briefly. Hopefully you guys found this article useful and have a nice day!
Related Articles & Tips
-
Recover Data from Dead or Broken Hard Drive

![[Solved] Recover Data from Mac](images/data_recovery/mac-recovery-2.webp)