Photos take a lot of storage on our Android phone and in some cases, part of them in Android gallery do not turn out to be the way we wanted; so it is best to delete them to free up space on your Android phone. On the other hand, if you have decided to sell your current Android device then erasing all the photos from the device should be on top of the list because we don't want the private photos being shown to others.
In this tutorial we are going to show you how to permanently erase Android photos and at the same time, remember to backup them first before proceeding with any solution shared in this page. Although different Android phones use different algorithms to delete pictures but more or less, they all follow the same principles. So it applies to Android devcies manufactured by Samsung, LG, Sony, Moto, Huawei, OnePlus and many more.
- Method 1: How to Directly Deleted Android Photos from Gallery
- Method 2: How to Erase Android Photos Permanently with Data Eraser
Method 1: Directly Deleted Android Photos from Gallery (Insecure)
Generally, Android phone powered by different Android versions uses the same procedure to delete photos from Gallery app. This solution is good for personal purpose where you want to erase some useless photos to create extra space. Otherwise, if you were selling or donating your phone to a total stranger then kindly jump into the next solution where we will show how to permanently delete photos from Android.
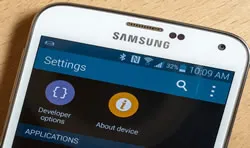
Step 1. Tap on Menu and open Gallery app.
Step 2. If you were erasing a single photo then tap on that picture from the Gallery and simply hit the "Delete" icon on the bottom right corner and confirm it.
Step 3. If you are erasing the complete Gallery then tap on "More" on the top right corner and choose "Select All" then tap on the trash icon to erase all pictures from your Gallery. That's how easy it is to erase photos from any Android.
Cons:
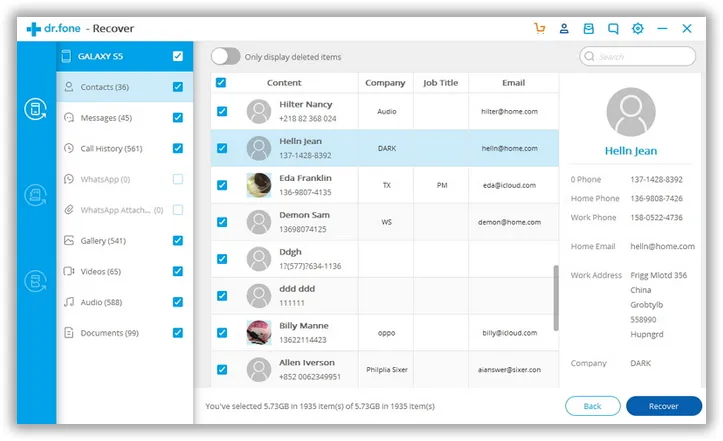
Erased photos in this way can be easily recovered by data recovery software. So it is not recommended if you were giving away or selling the phone to some unknown person. My colleague did a test on Samsung Galaxy S7 a few days ago and the deleted photos are fully scanned by TunesBro DiskLab for Android, an smart and powerful Android data recovery software. Here is the screenshot:
Method 2: How to Permanently Delete All Photos from Android
You might be thinking that the above method is safe. But in fact, these photos are not actually deleted but they are stayed in reserved memory. If any hacker had access to the phone then he or she can easily recover it and expose your pictures on the internet and hence, it will compromise the complete security of your lifestyle. That is why we need to secure software to delete the photos.
TunesBro DroidWiper is a stunning and spectacular Android data erasing tool that not only deletes the photos from your phone but it is assured these deleted items can never be recovered by using any data recovery software. It is a desktop program that helps you to analyze your entire Android phone thoroughly and deletes the photos over and over again so that no traces are left behind.
Advantages of Using TunesBro Android Eraser
- 100% erase all data from your phone with 0% recovery chance.
- 3 classic wiping modes available – Erase All Data, Erase Private Data and Erase App Data.
- Remove data from both internal and external memory.
- Supported 17+ data types – SMS, Contacts, photos, videos, audios, app, app data, etc.
- Compatible with over 2000+ Android devices including Samsung, Sony, Motorola, Nexus, Panasonic, Micromax, Nexus 5, LG, etc.
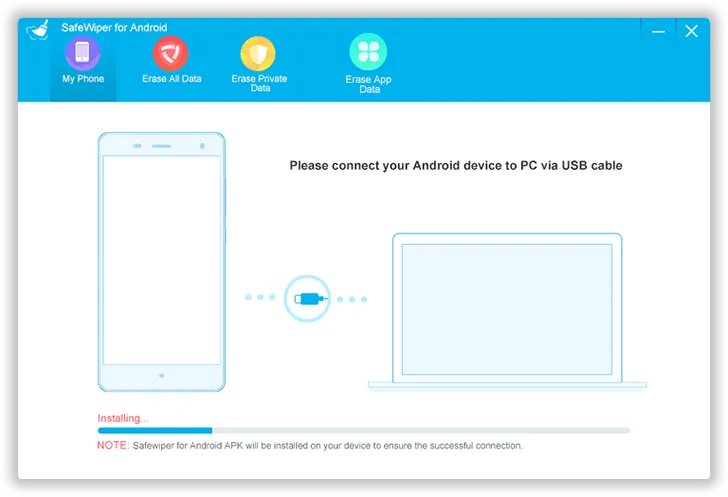
Step 1Install TunesBro DroidWiper on PC
It is an extremely easy to go program, so frankly anyone can use this program without any instructions. But for your own benefits, you need to download and install the program on a computer first.
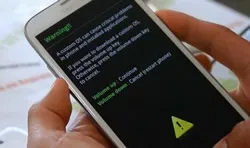
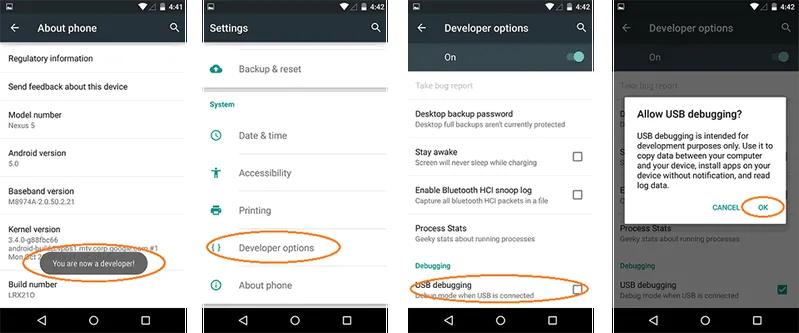
Step 2Enable USB Debugging on Android and Plug it to the Computer
USB debugging is advanced feature on Android that allows computer software directly sending commands to Android via USB cable. This function is disabled in default, so you need to turn it on first. After that, take out the USB cable and connect the phone to computer. A few seconds later, you will see the device being recognized by TunesBro DroidWiper.
Step 3Choose Data Erasing Mode
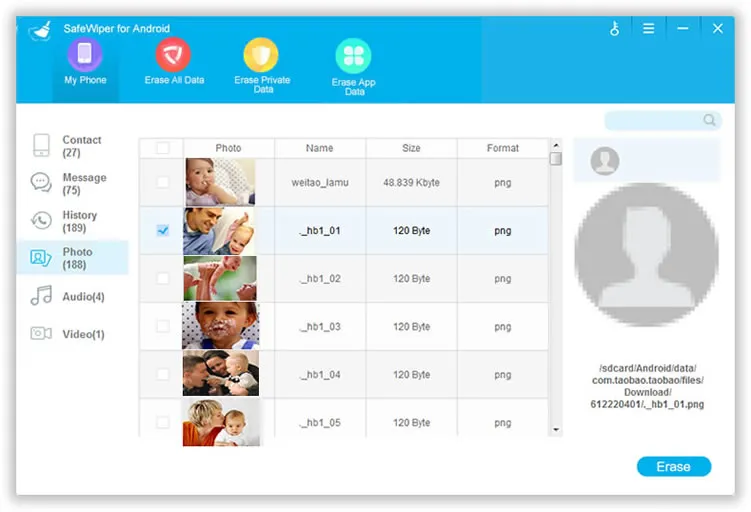
Launch the program and choose "Erase Private Data" to erase all the existing photos from your phone. Let the program scan your entire device and after the monitoring is finished, it will let you preview every photo before deleting them permanently.
Note: please keep the device well connected and SafeWiper app on Android stays active.

Step 4 Select Target Photos and Erase Them Completely
Finally, select all photos that you want to get rid of and click on "Erase" to completely remove them from your device. When it is done, the phone will reboot automatically and all photos are gone.
Our Verdict:
Never take the privacy and security of your pictures lightly. Our falleries contains the most private and intimate pictures of our lives that could get us in trouble if they fall on wrong hands. Factory reset or deleting any data with basic phone function is not safe anymore but thanks to SafeWiper for Android, now you have the option to permanently destroy every single item from your phone permanently beyond recovery.