Moving media files such as photos and music is actually not as simply as it should be. Of course, there are several wired and wireless methods to transfer photos from Android to computer, but a lot of them are unreliable. Either it won't sync properly, you'll lose photos or the files could become corrupted. In the worst case, your device or computer may freeze up altogether, forcing you to do a manual restart and begin the process all over again. Even in the best case scenario, cloud uploads could use up valuable mobile data if you're not on a WiFi connection.
Considering how quickly mobile camera technology has progressed, you'd think that there would be a really simple way to copy photos from a device to a desktop. Unfortunately, none of the free applications available on the Internet are 100% reliable. Thankfully, there are some great premium tools to get the job done quickly and efficiently.
- Part 1: How to Transfer Android Photos to Computer Using WiFi
- Part 2: How to Transfer Photos from Android to Computer with TunesBro
- Part 3: How to Transfer Photos from Android to PC Using USB
- Part 4: How to Transfer Android Pictures to Computer without USB
Part 1 : Transfer Android Photos to Computer Using WiFi (Google Account)
Google, the owner of Android, has a great cloud sync service called Google Drive. This is probably one of the easier ways to transfer photos, but it involves uploading files to Google Drive. However, sometimes it would be very slow if the Internet connection was not good.
The photos transfer with Google Dirve is preety simple. Install Google Drive app on your Android device if you don't have it by default, and then select all your photos and choose a Drive destination. It's better to create sub-folders and move your images in batches according to their categorization on your device. When all the photos being uploaded to cloud, then download desktop version of Google Drive on a PC or Mac. After installation, login in the same Google account, then the photos will be synced to your computer automatically.

The only problem with this method is that if your Internet connection is interrupted during the upload process, you may face some errors or have to start over again.
Part 2: How to Transfer Photos from Android to Computer with TunesBro
Another solution for Android photo transfer is by using third-party programs, which is the most time-saving and user friendly. TunesBro Android Manager, a robust piece of software, can not only let you transfer your Android photos to a computer, but also to other Android or iOS devices. You can transfer all your photos to and from your computer to your Android device, and it also handles other types of media. What's more, the full toolkit has other options such as Backup & Restore, Repair, Switch, Erase, Unlock, Root and more.
Main Features of DroidGeeker
- Selectively backup photos to PC or Mac.
- Completely backup all content and settings on Android.
- Restore Android photos from backup at any time.
- Support 100+ Android brands and 5000+ Android devices.
Step 1 Install TunesBro Android Manager on PC or Mac
Download and install the software on a computer (best if the device was connected to it in the past). There are two versions available for both Mac and Windows. So please click on the right button above to download and install the program.
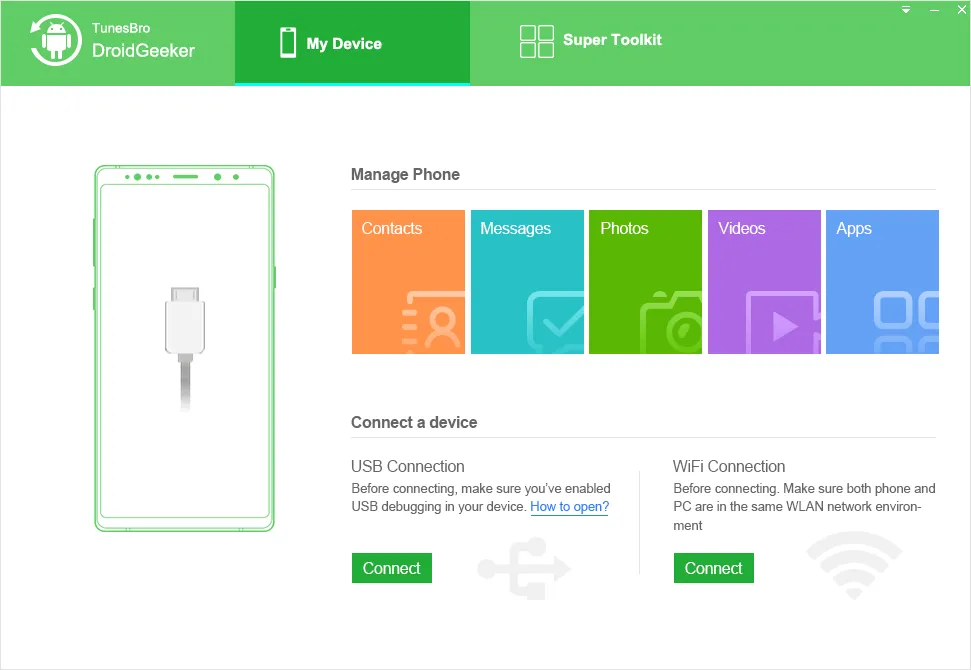
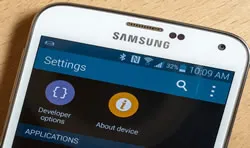
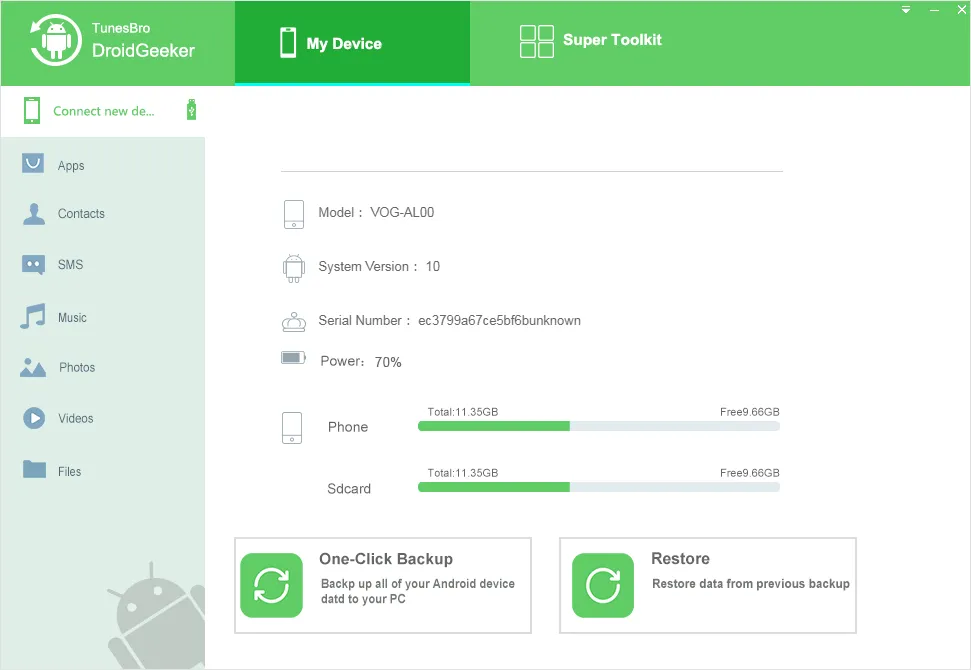
Step 2Enable USB Debugging on Android and Connect Device to Computer
Launch the software and connect the Android device via a USB cable. If the device couldn't be recognized by the computer, make sure you already turn on USB debugging on the device. Once the device is found by the program, you can see the device information on the main screen.
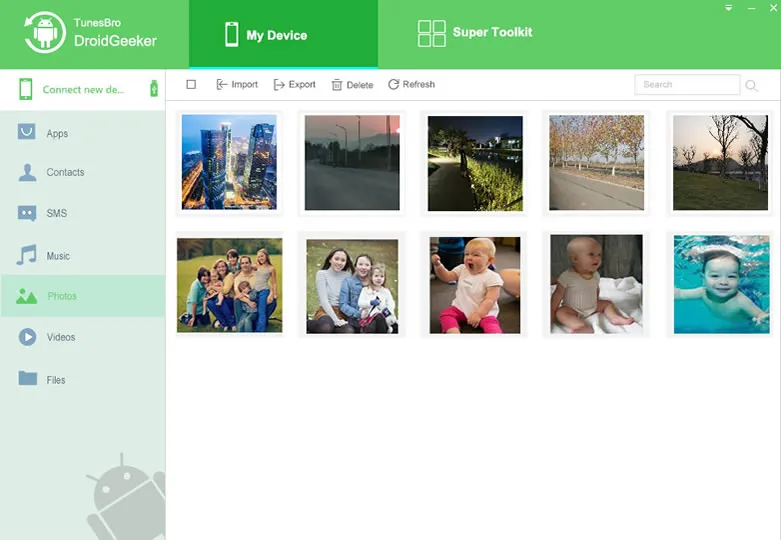
Step 3 Select Photos You Need to Transfer
Click "Photos" tab located at the top menu bar, select the folder or files that you want to move from the device to the PC or Mac.
Step 4 Transfer Selected Messages from Android to Computer
Now click on "Export" button. At this time, a small window pops up asking you to choose a local folder on the computer to store the exported photos. This will be done in a few minutes.
Part 3: How to Transfer Photos from Android to PC Using USB
The third way is to physically connect your device to your computer using USB cable and moving your photos that way. In this method, you'll need to first connect the device to the computer after unlocking it, then choosing the "Transfer" option when you get the notification. Your computer will open a file transfer window, where you can drag and drop the photos to be moved.
Naturally, things can go wrong with this method as well. The biggest problem is that it is hard to completely find all the photos because there are so many folders. Other problems are: the cable might not work properly, your computer may not recognize the device, the device itself could throw out errors, and so on. If you want to avoid all the hassles involved in the above two processes, then it might be a better idea to check out a premium option suggested in Part 2.
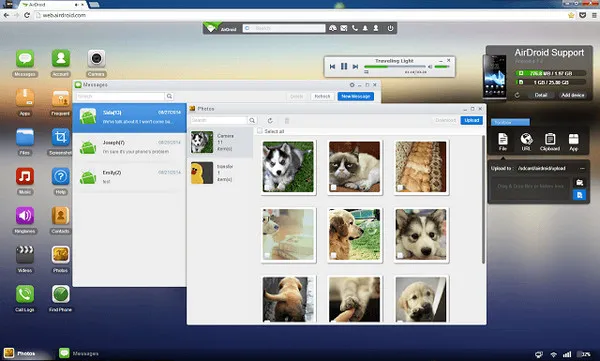
Part 4: How to Transfer Android Pictures to Computer without USB
The last method is to use wireless file transfer app, which doesn't require USB cable for connection. First, you need to download and install app on your Android device. Then turn on USB debugging on the device. Now open the app and it will tell you type an IP address as well as port in a web browser on the computer, such as 192.168.0.1:8888.
Once you completed the step, a notification will be displayed on the phone and you should grant access to the app. After this, you will see all folders on Android phone from the browser. So you can navigate to photos folders and download them to a computer. However, it would take a lot of time to find the photo folders as different manufacturers using its won naming rules.
Conclusion:
That's all there is to it. It doesn't require any technical prowess whatsoever. Simply follow the intuitive steps on the interface and you'll be done in a matter of minutes. It's an invaluable tool to have at your disposal, and it won't cost you an arm and a leg to purchase a lifetime license.