Android is a great device to take photos and becomes an essential part of our digital world. There are two major problems when the photos increased. One is how to protect the photos from being lost or damaged. The other issue is that the photos would take up a lot of space. So it is very important to backup photos on Android.
Actually, we thought that backing up Android data was a needless thing until you lose your precious data and have no way of recovering it. Over the course of this article, we will go over the steps on how you can back up precious data on Android with different backup services and software.
How to Transfer Photos from Android to PC or Mac
Backing up Android photos to PC or Mac is another popular choice because it is much secure and takes less time. So in this part, we will introduce more details about this method by using a powerful Android backup software called TunesBro DroidGeeker. It can quickly transfer all photos on Android to a computer. It can be a Windows PC or Mac.
The photos will not exposed to the services you have no control. Only the computer owner can access the photos. So it is more safe for private data. No one want his or her private photos being seen across the Internet, right? That's why a lot of people choose to backup their photos to a computer.
Best Features of TunesBro DroidGeeker
- Complete and safe backup feature.
- Also capable of backing up contacts, messages and other media files.
- Easily restore from backup files.
- Manage information on Android through computer mouse.
Step 1Download and Install Android Backup Software (PC and Mac)
TunesBro Android Backup software is available on Windows PC and Mac. Please download the right version and follow the intructions to install it on a computer.
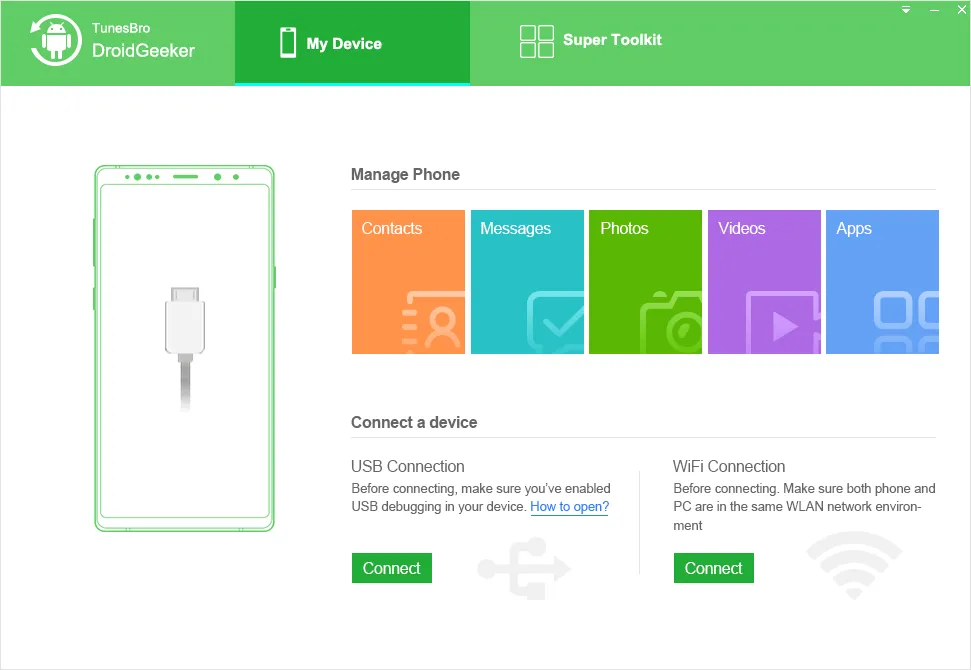
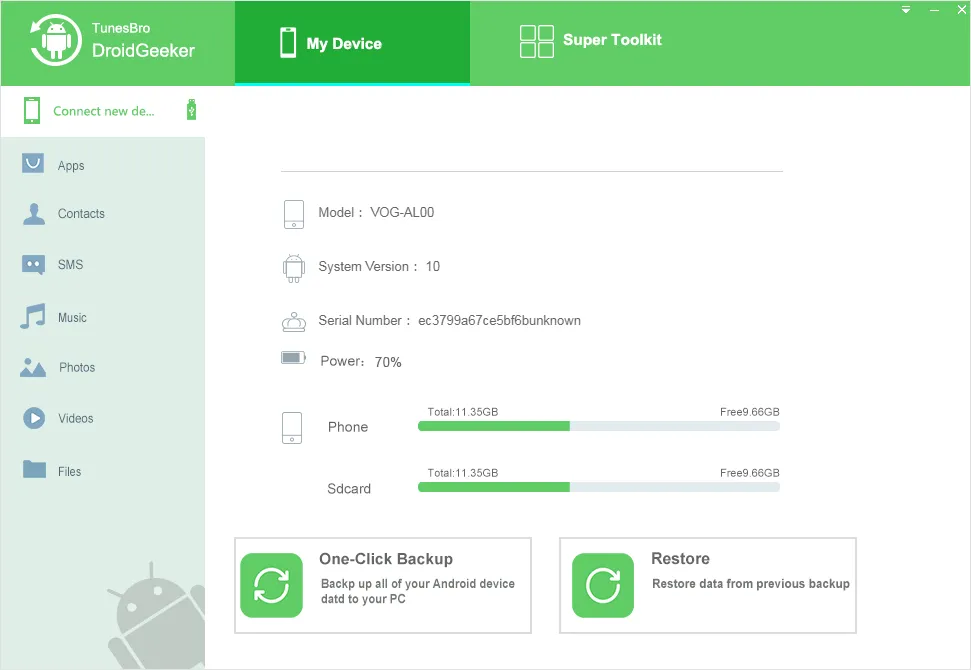
Step 2 Plug Android to PC or Mac
Now turn on Android USB debugging and connect the device to PC or Mac. If everything goes right, then the program could detect the device in seconds and shows brief information on screen.
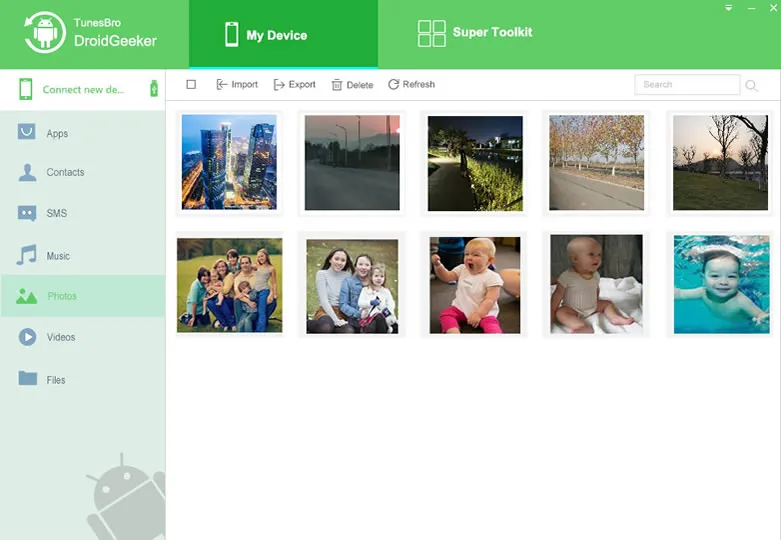
Step 3 Backup Android Photos to PC or Mac
Click "Photo" icon on the left sidebar, then all photos on Android will be displayed on the right side. Now, click the Export button and you should select the photos you want to backup and choose a local folder on computer to store the photos.
This only takes a few minutes to completely backup photos on Android. For secure reason, you can also add a password to that folder to protect unauthorized access to the photos. In addtion, you can also backup Android contacts, text messages with this software. So it is is highly recommended solution for photo backup.
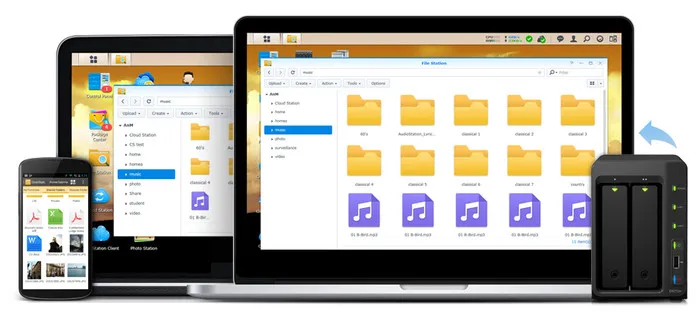
How to Backup Android Photos to Synology NAS
NAS is short for network attaced device. It is a micro computer designed for backing up data local or remotely. Being a famous and advanced cloud service, Synology NAS lets you back up every single thing from your Android device to your PC or Mac. It has lots of powerful features that you can use to back up your Android's data and secure that data on an option offered by Synology. And that comes with advanced tech for cloud storage. Here I will offer you detailed instructions on backing up Android with Synology.
Step 1: Download and install the Acronis Mobile app on your Android
Step 2: Set up and launch Acronis True Image 2018 in your NAS. Ensure that both – NAS and mobile are connected to the same Wi-Fi.
Step 3: In the app in your mobile, choose Backup to NAS or computer. Press Scan QR code. Scan the QR code shown in the NAS app interface with your mobile to pair the phone with the NAS.
Step 4: Once paired, you can start the backing up to NAS using the Wi-Fi. You can browse the backup files on the mobile and restore straight from the NAS.
Now your data will get backed up to NAS every time you connect to your home Wi-Fi. If something happens to your device or you change phone, you can restore everything quickly.
Summary
As you can see, it is really easy to transfer your Android photos to iCloud, Synology NAS and Windows PC. With this guide by your side, you will never have to worry about how to backup Android device any more.